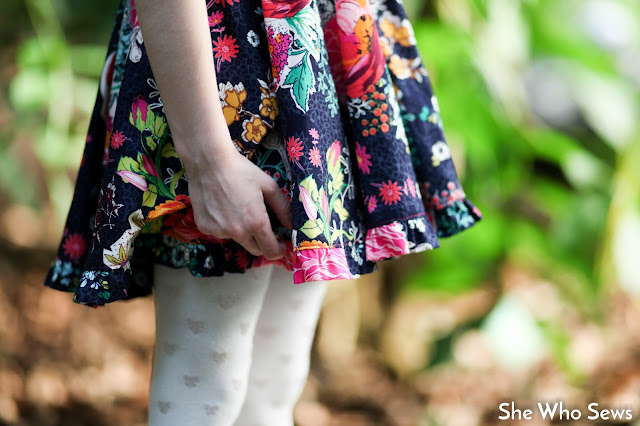
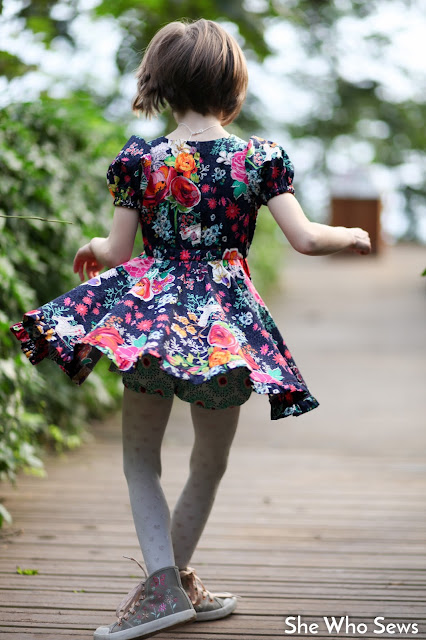
The Latona Dress, except with zips!
by
She Who Sews
- 21:12
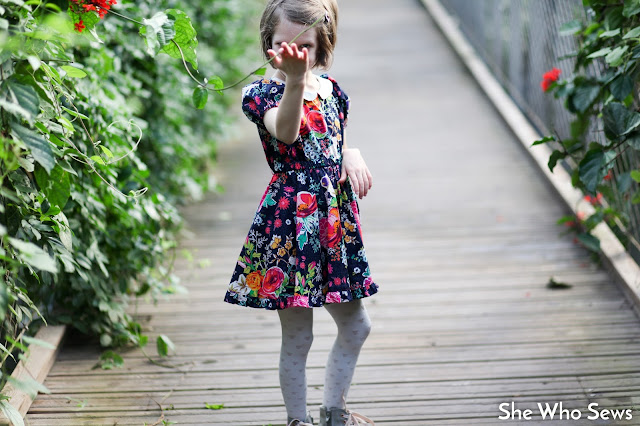
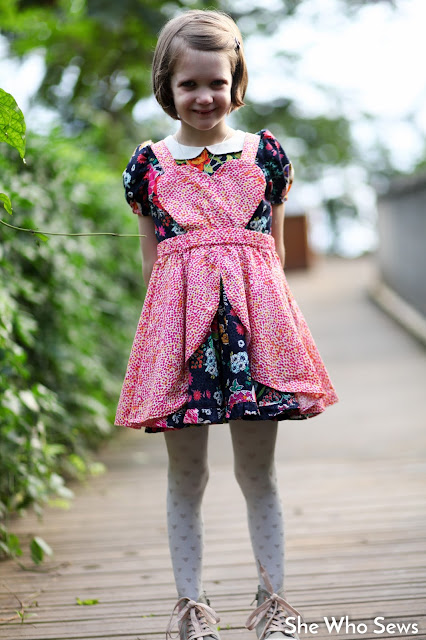
Ever since I made the Latona dress at the beginning of 2017 (read here), I had planned to make another with zips in the back bodice instead of buttons, for no other reason than I felt like it.

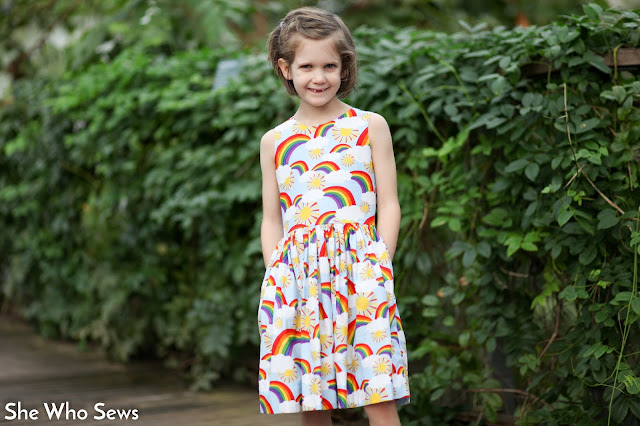
But, well, all the other pattern tests, a little bit of work, and shiny new pattern releases got in the way and nothing ever came of it. Until just before Christmas when I found some amazingly happy and bright fabric in our local fabric shop. I just knew I wanted to make it into a Latona, with rainbow zips!

I found the zips online and ordered up a few pairs as I was unsure on the length I'd need. They weren't as rainbowy as I'd hoped, but they did the job. The difficulty came in figuring out how best to substitute the zips for the buttons. The centre back piece of the bodice overlaps the back sides to create two button plackets. I wondered whether to get rid of the overlap entirely and just replace with zips, reducing the centre back panel in width. But this came with it's own problem of how the skirt would then attach nicely to the bodice. I discounted this method because I couldn't wrap my head around the waist/bodice join.

In the end I opted for creating a second placket in the skirt and adding the zips in with their tape sewn on like a seam allowance and turned under. It is not the neatest job in the world, but turning the zip tape under creates it's own little flaps so the zips aren't directly against the skin. I added in two small sew-in snaps to the top of the centre back to hold the flaps in place. I hoped these would stop the back from gaping, but it didn't.

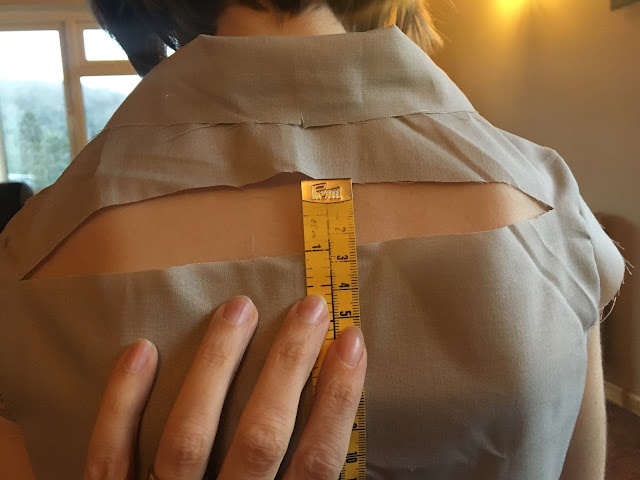
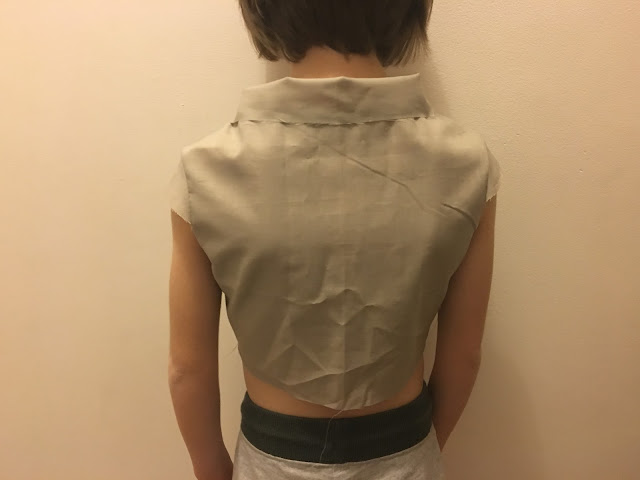
The revelation about why this is gaping came in the last couple of weeks, and I can't change this dress unfortunately. So here is a prime example of a dress not fitting correctly. See how the back neck is gaping downwards, and that you can clearly see the shoulder seams? The seams shouldn't be visible on this photo, as they should be at the top of shoulder, just out of sight from this view. The back neck should be considerably higher towards the neck. There is also a small amount of pulling at the front armholes. This would all be solved by adding extra width to the top of the back like I did for this dress.

The next time I make this pattern I will be adding extra to the back, as I will be for all patterns going forward.

Did you know you can follow me on Instagram and I'd love for you to give me a like on Facebook.
*Disclaimer: Some of the links in the post are “affiliate links.” This means if you click on the link and purchase the item, I will receive an affiliate commission (the price stays the same for you) which will help me in the future to buy more patterns to share them with you!*


